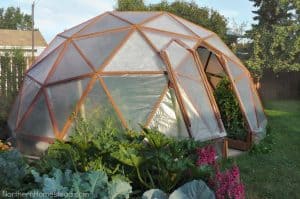
If you’re interested in how to build a greenhouse misting system, then I can assume you’re interested in a DIY approach. Installing a greenhouse misting is surprisingly simple, even when you get down to brass tacks. Or, I should say, brass nozzles.
Curious about why you might need a greenhouse misting system? Read much more about the ins and outs of misting in our Quick Guide to Greenhouse Misting Systems.
You’ll likely be able to find every component you need at your local hardware or gardening store, or they are all available easily online.
To Build a Greenhouse Misting System You’ll Need:
- Plastic tubing: ½-inch tubing is recommended
- Tubing adaptor: connects water tubing to spigot
- Compression fittings: connect nozzles to tubing and help shape the tubing
- Misting nozzles
- Wire mesh hose filter
- Heavy-duty zip ties: at least 6 inches long
- Tubing end cap
Check Before You Start
To build a greenhouse misting system, you don’t need much, but you do need a plan. Follow this guide step by step is you’re too lazy to come up with your own!
Match That Threading!
The last thing you want when you go to install your misting system is a mis-matched set of hardware. Make sure you’re buying pieces that will fit together and not leak!
Check both size (diameter) and threading of:
- Your existing water spigot
- Tubing-to-spigot adaptor
- Compression fittings
- Tubing end cap
Mounting & Placement
Consider what kind of structure you’ll need in order to mount your tubing or pipe. Roof frame? Side frame? Shelving?
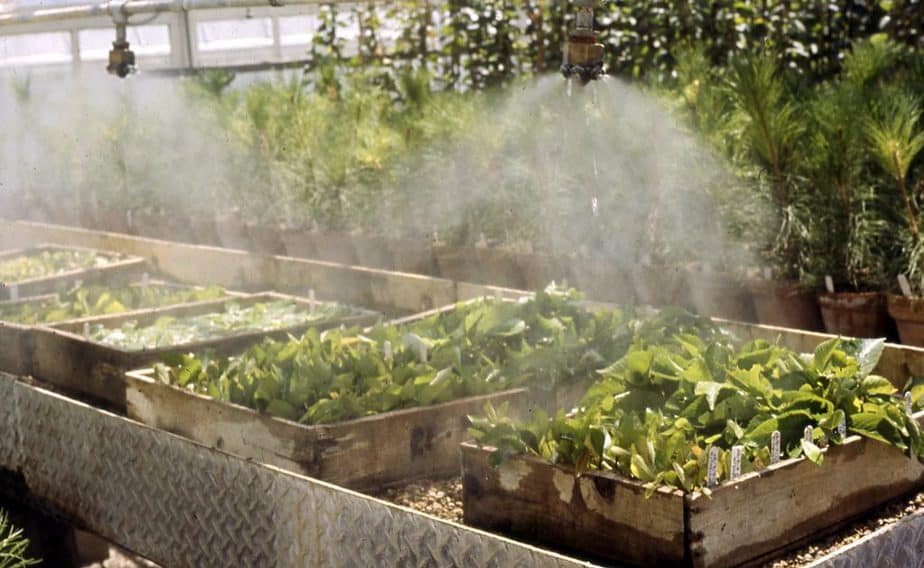
A greenhouse mist system should be situated so that the nozzles are about 3 or 4 feet above your plants. If you’re using the system to keep seedlings and cuttings damp, you’ll want the nozzles to be closer. For general climate control, you can place the mister higher up.
Water Source
Where will you connect your system to water? Check the threading and size of your water spigot to be sure you purchase a tubing adaptor that fits.
Make sure you’re using a spigot that has nice, working pressure control so you can adjust the flow of water well.
How far away is the spigot from your greenhouse shelving and plants? Measure the distance between the spigot and the area to be misted so you know how far you need to run the tubing before you start installing nozzles.
How big should the system be?
How many nozzles you use and how often you mist your greenhouse will depend on your climate and the types of plants you’re growing. It also depends on the pressure or flow-per-minute coming from your water source.
But if you’re not a Mathlete and don’t know exactly how much water is coming out of your spigot per minute, you can figure out how many nozzles you need by looking at the square footage of your greenhouse.
The average misting nozzle “covers” about 6 square feet of space. Measure your tubing so that you can place a nozzle every 6 feet.
Be generous when measuring how long you will need your water supply tubing to be. It’s always better to have more than not enough.
Sufficient Airflow System
A misting system does not replace a good ventilation system in your greenhouse, and it won’t work well without it! Make sure you’ve set up fans, vents, etc., to create healthy airflow in your greenhouse before you install a misting system.
For more information of airflow and ventilation for greenhouses, read our Guide to Greenhouse Cooling & Ventilation and find your best fan style in our overview of Greenhouse Fans.
Step-By-Step Guide to Build a Greenhouse Misting System
Step 1: Connect adaptor & water source
First, place your mesh filter onto the spigot! This part is essential! Got it?
Then screw your tubing adapter onto the spigot to enclose the mesh filter (or to the threading of the filter housing, if you have that type).
Now the un-threaded end of your tubing adapter should be ready to receive that tube! The end may be “barbed,” meaning that it has some ridges on it to help create a tight, durable seal with the tube. (We highly recommend getting an adapter with a barbed end!)
Push the un-threaded or barbed end into the tube, and make sure it’s snug. Tug it back and forth a bit to ensure that you’ve created a good seal.
Step 2: Install water supply tubing
Starting at the spigot, run the tubing from the spigot to your mounting structure.
The tubing should be flexible enough to bend to your will, but if it becomes difficult to get into place, you can use elbow-shaped compression fittings to help route it in the proper direction.
As you thread the tubing along the mounting structure (whether that is the frame of your greenhouse, some shelving, or something else), attach it every few feet with zip ties (or other attachment hardware).
Step 3: Install tubing end cap
Press the tubing end cap into the opening at the end of the water supply tubing.
Step 4: Install compression fittings
Clip the tubing with shears or tube cutters wherever you want to place your nozzle. Insert a T-shaped compression fitting to each new opening in the tube.
Repeat this process everywhere you want to place a misting nozzle.
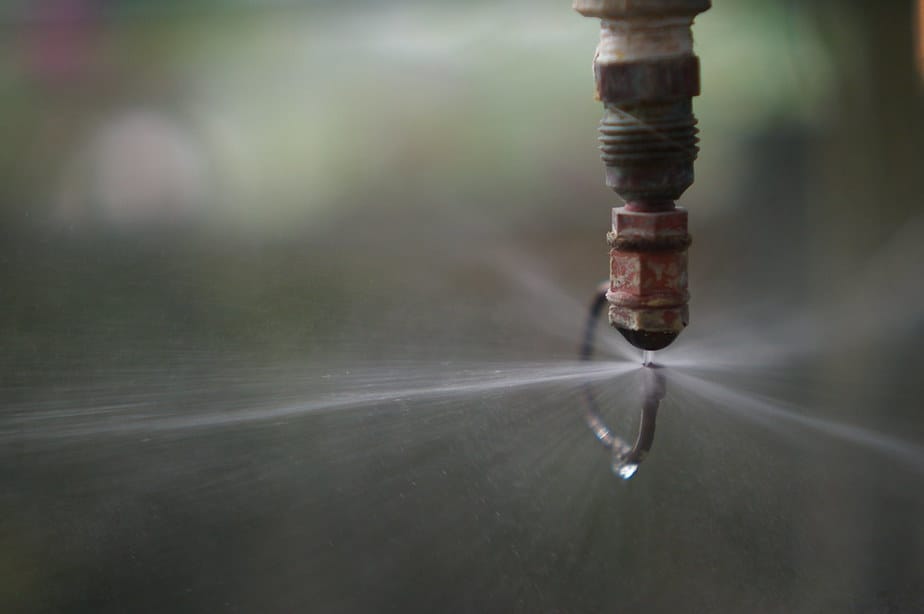
Step 5: Install misting nozzles
Now simply screw in (if compression fittings are threaded) or press in a nozzle at the “bottom” of each “T” on the compression fittings.
Step 6: Turn on the water and watch!
You did it! I know you’re excited, but turn the water on slowly. Make sure the pressure on the misting nozzles is appropriate.
The amount of water pressure you need and the frequency with which you mist the greenhouse greatly depends on your crops and your climate environment. Remember to check the temperature and humidity specifications for your greenhouse garden plants.
Then, just like most gardening activities, it’s just trial and error.
Can’t I Just Buy A Kit?
Absolutely! Short on time and patience? Just don’t want to build a greenhouse misting system? Grab a ready-to-install kit and string up that irrigation system! No one will judge you.