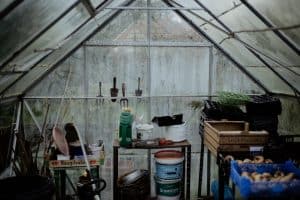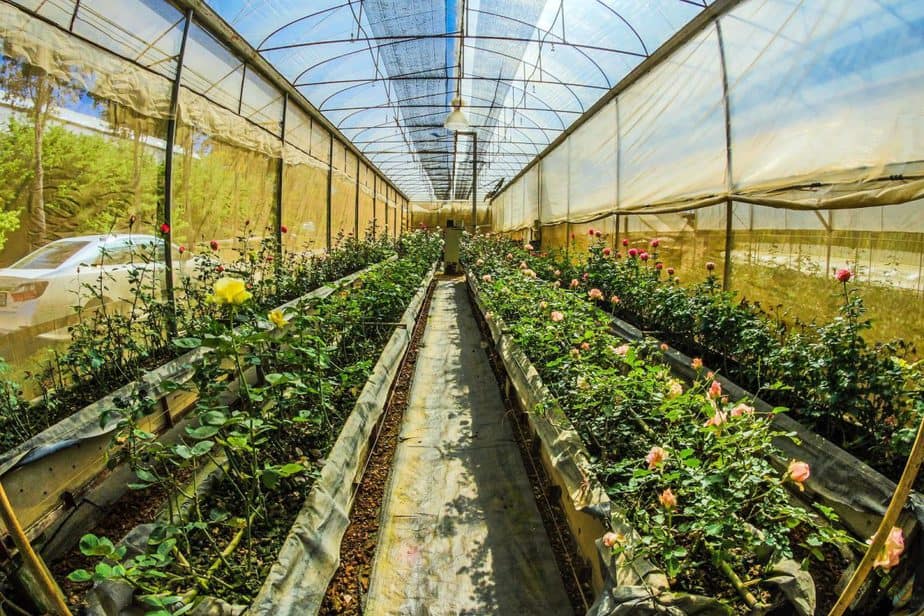
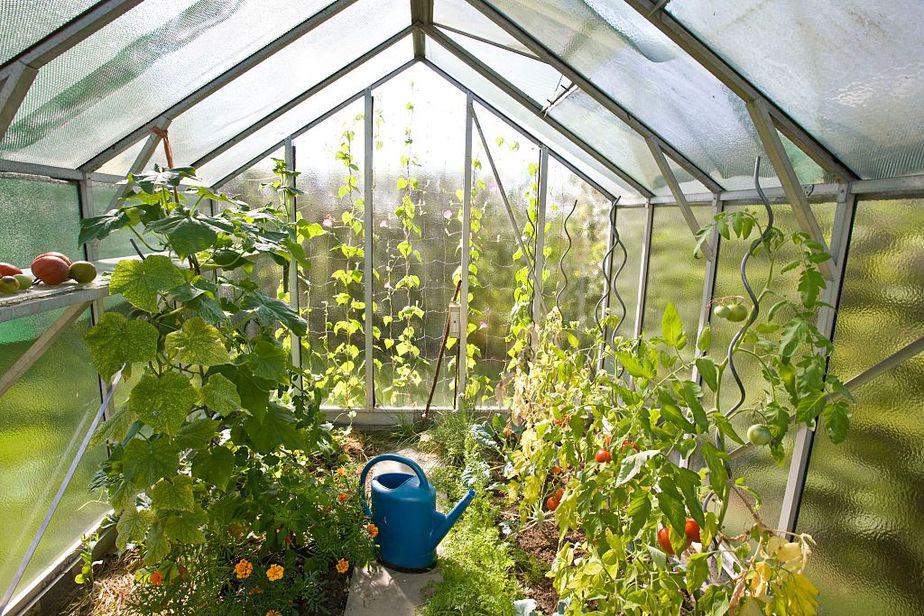
Greenhouses are an excellent addition to your garden. They extend the growing season, protect your plants from the elements of weather, and more!
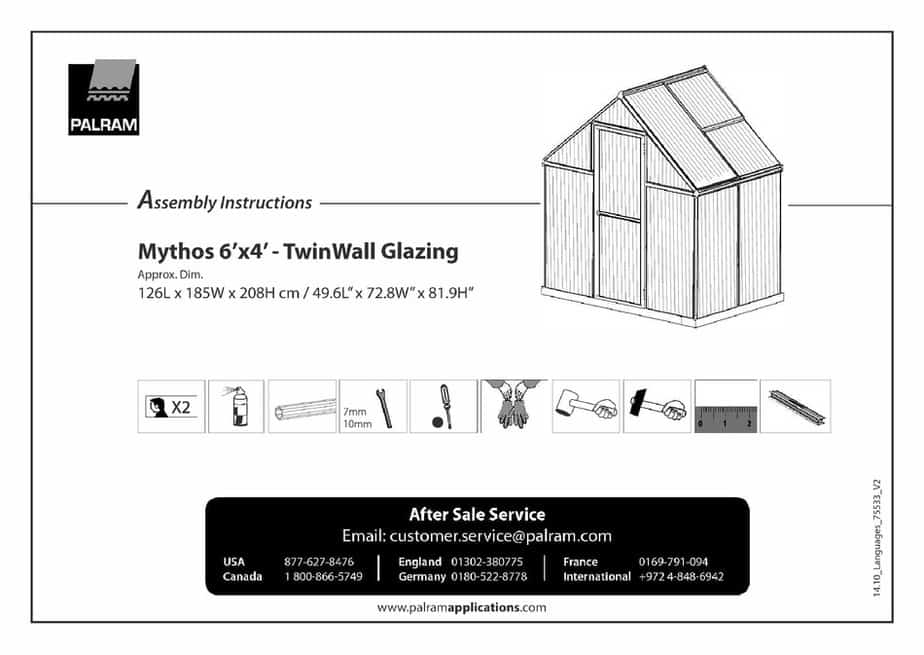
Back in the day, greenhouses were exclusive to large farms. However, there are now many greenhouse kits that you can use for your backyard garden. The problem is, they usually come with lacking proper instruction on how to set up a greenhouse kit.
But worry not! Because today, we’ll provide you with a brief easy-to-follow guide that walks you through every step of the way while setting up your greenhouse kit.
So without further ado, get your tools ready and prepare yourself to set your first greenhouse kit up!
Step 1: Prepare Your Tools and Materials
Before starting with your project, it’s important that you gather all the tools and instruments you’re going to use to construct the greenhouse kit.
Some greenhouse kits add some of the necessary tools to the package so make sure that you inspect it and see what it has to offer.
As a rule of thumb, a greenhouse kit requires nothing more than a screwdriver (manual or electric) to fasten the screws. In the majority of cases, the kit will come with all the screws and bolts used in the process.
You might also need the following tools for the process:
You might also need some gardening tools to clean the ground before setting them up and make a base. These include a shovel, a rake, crushed limestone, cement mix, timber wood, etc.
Oh, and you’ll need a greenhouse kit too obviously – there are a number of options to choose from. Consider one from these
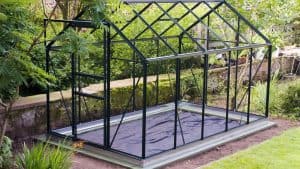
Step 2: Choose a Suitable Spot and Set the Base
Ideally, choose a spot where the greenhouse will get at least 6 to 10 hours of direct sunlight every day. Learn more about why by reading our Where To Build Your Greenhouse post.
To set a base, make sure that you rake the entire area and remove any debris. After that, dig a trench 6 inches deep and have the same measurements as the greenhouse kit you’re setting up.
Fill the trench with a layer of crushed limestone to absorb the moisture and lay timber wood over it.
Step 3: Build a Floor for the Greenhouse Kit
After laying the wood, use a level to make sure that it has no sloping, then nail the wood together to form a base. Alternatively, you might want to make a cement floor.
In that case, prepare a cement mix and lay it flat over the trench, and ensure that it’s level so that the greenhouse kit is easier to build and stabilize. Cement is relatively more damaging but it won’t rot or mold like wood. Learn more about other greenhouse flooring options too.
Step 4: Read the Instructions and Start Simple
Although greenhouse kit instructions are usually lacking and would only focus on connecting the sides and poles of the structure, make sure that you read them for any special requirements that you need to know before going ahead and putting them together.
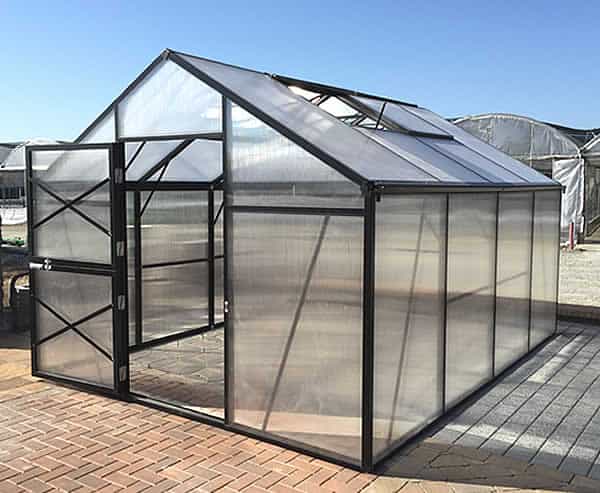
Step 5: Start Assembling the Sides of the Greenhouse Kit
After building the base, it’s time to assemble the ends of the greenhouse kit – just like a puzzle. Start by working from inside the greenhouse and start attaching the corner struts to the bottom plate, then attach them to the wall struts.
After connecting the sides together, make sure that you connect and fasten them with the bolts and screws provided for the spot.
After tightening the bolts, assemble the opposite end the same way without installing the door yet.
After laying out the end walls, you should lay out the side walls in the same way. While laying out the side wall struts, make sure that you attach them to the bottom sill of the greenhouse.
Ideally, the end wall pieces in a greenhouse kit will have a channel where the side walls slide in so that you can secure the attachment by using bolts.
It’s important that you follow the instructions provided on how to secure the main frame of the greenhouse.
Step 6: Attach the Joints and the Pole
With everything in place, it’s now time to attach the ridge pole that holds up the entire structure of the greenhouse and give it the gable structure.
Attaching the joints of the pole is usually similar to the walls and sides. Simply loosen the bracket to slide the ridge pole in then tighten in back up. Repeat the step to attach all the roof struts by lining them up with the struts of the walls.
Step 7: Install the Door and the Windows
Before attaching the doors and windows of the greenhouse to the walls, you first need to put them together.
The assembly process of both the doors and windows of the greenhouse is quite simple but it depends on the type of sliding mechanism of them both.
A simple door or window is as simple as attaching the four sides together. Make sure that you attach the handle of both windows and door where the instructions recommend and secure the door with an additional lock mechanism if it doesn’t have one already.
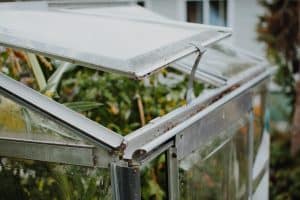
Step 8: Put up the Polycarbonate Panels
Slide the polycarbonate sheets of the greenhouse into the walls that you’ve constructed then secure them with a silicone sealant.
Don’t overdo the silicone as little beads of the sealant is more than enough to keep them in place.
Step 9: Stabilize the Greenhouse to the Floor
Once the entire structure of the greenhouse is put together, secure the structure to the floor by driving deck screws to the bottom of the cement or timber floor.
Step 10: Attach Any Additional Accessories
If there are any additional accessories that come with the kit, such as roll-up curtains, it’s time to attach them as directed in the instructions. If you want to add some stuff to your bare outfit then give our 9 1/2 Best Greenhouse Accessories post a read
Greenhouse Kit Set-Up
There you have it! A complete guide that shows you how to set up a greenhouse kit and walks you through everything you need to know about the process.
As you can see, the process is quite simple and straightforward. Although greenhouse kits might vary slightly between them, they usually carry the same concept in terms of parts and attachments.
In other words, this general guide should be helpful regardless of the brand of greenhouse you’ve purchased.