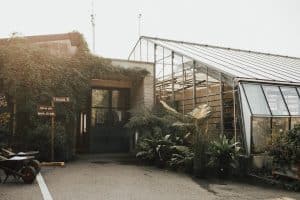
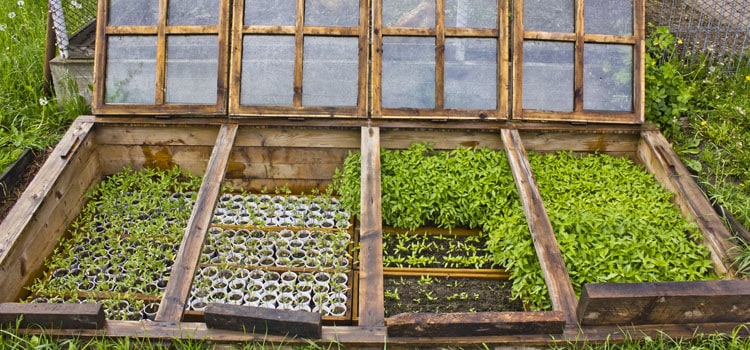
A cold frame greenhouse is basically a box frame topped with a clear lid. It has a rather straightforward structure that makes it easy to build at home.
The frame is usually made from wood, but other materials including bricks are becoming popular as well. The lid is clear to allow the sunlight in, which effectively warms up the trapped air to protect your plants from harsh weather.
Today, we’re sharing a step by step guide on how to make a DIY cold frame greenhouse. We should note, though, that cold frames and greenhouses are really different things entirely.
Before Building

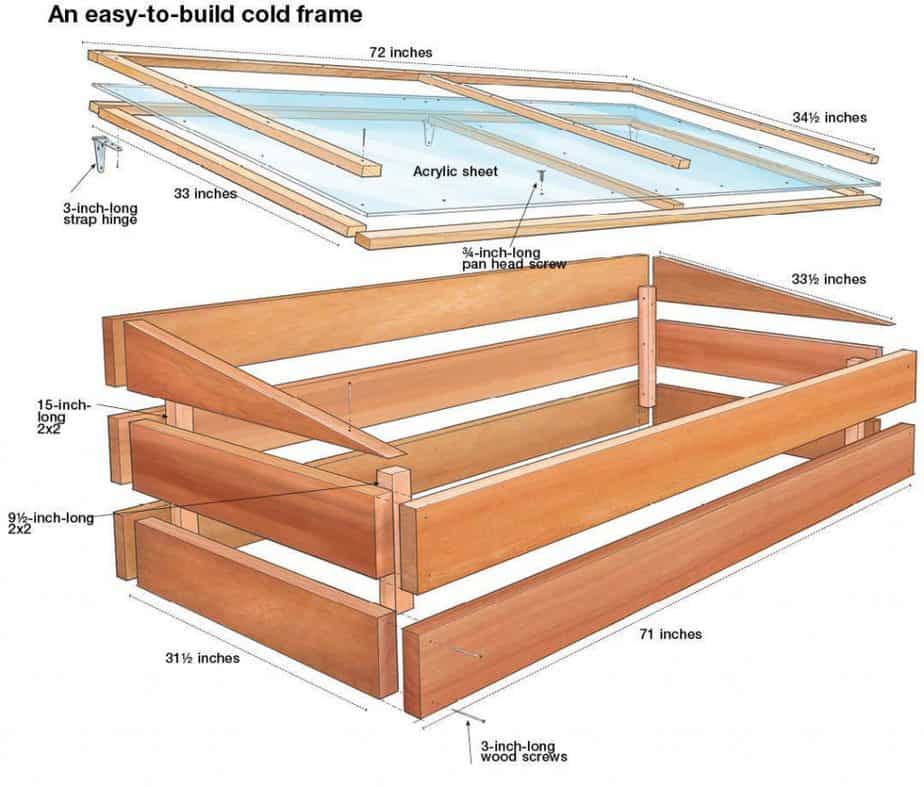
For a simple approach, we’ll be constructing this project using an old window with the frame measured and cut to fit. So let’s not waste any time and get started!
Tools:
- Circular saw or jigsaw
- Miter saw
- Dozuki saw
- Power drill or impact driver
- Sandpaper
- Straight edge and pencil
- Tape measure
- Eye and ear protection
- Work gloves
- Clamps (optional)
Materials:
- Wood boards (cedar or pressure-treated lumber)
- Hinges
- Screws
Cut List:
Note: the cut lengths of wood boards should match the dimensions of your lid, so only you can determine the measurements based on the lid’s size.
- Front panels (length equal to the back panels)
- Back panels (always 1 more than the front)
- Side panels
- Angeled side panels (always 2)
- 4 Corner braces (the back 2 are longer than the front 2)
Step by Step DIY Cold Frame Build
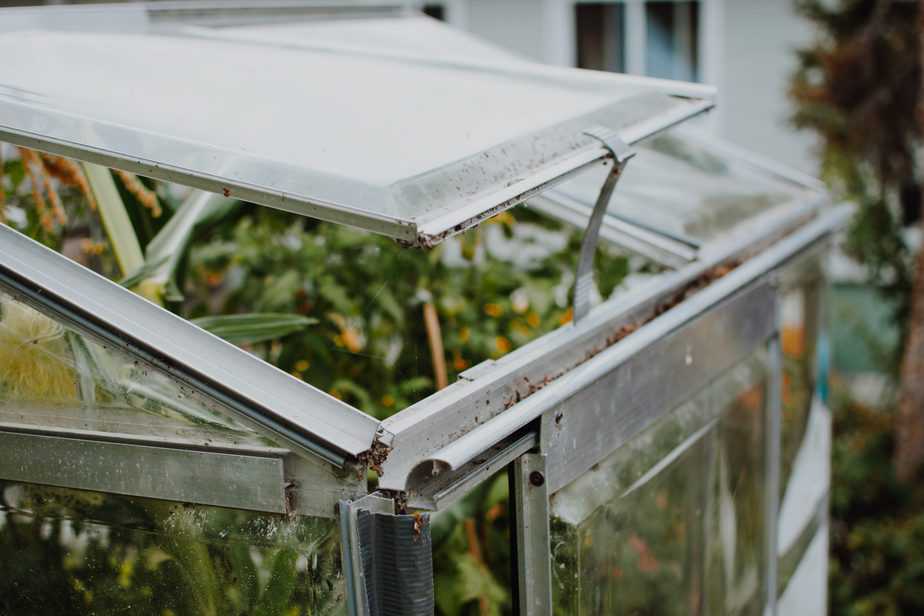
Step 1: Find or Build Lid
If you can get your hands on an old window or an old clear door (such as a shower door), then you’re all set with a lid. If you can’t find one, build a lid by securing a sheet of glass or something else transparent to a simple wooden frame.
Step 2: Build the Frame
- Set up the front and back panels so that they cover the ends of the side panels to form a box.
- Screw the panels together make the bottom of the frame.
- Repeat this step to build as many levels as needed.
- To make the level layer, you’ll use a back panel only without a front panel.
This is because you want to create an angled slope once the window is attached, which is why the side panels should be cut at an angle. Additionally, the side panels should be longer to accommodate the slope. Leave several inches on the end so you can either screw or clamp the piece down for when it’s time to make the cut.
- Screw the side panel to the back panel temporarily, and place them on top of the box.
- Take the straight edge and place it from the top corner of the back to the front of the box diagonally across the board.
- Draw a line then remove the temporary screws and fasten the extra inches length to your work table using clamps or screws.
- Using a circular saw or jigsaw, slowly cut it out as you’re going across the grain. One cut will give you the 2 angled side panels.
- Trim the extra inches off to length.
Step 3: Sand the Side Panels
Use sandpaper or an orbital sander to smooth out the rough edges of the angled side panels.
Step 4: Attach the Angled Side Panels
Next, you want to place the 2 angled side panels inside the edges of the last back panel and fix them in place from the back. As we mentioned above, there’s no front panel for the last level of this structure because of the desired angle of the final project.
The side panels won’t be attached to the corner braces, so we recommend adding an extra screw on each side towards the front for better securing.
Step 5: Install the Corner Braces
- From one of the remaining wood boards, cut 4 pieces to be used as corner braces where 2 pieces are longer than the other 2.
- You’ll install the long pieces as braces for the back corners. Cut the ends of the long pieces at a slight angle to accommodate the slope of the tops of the angled side panels.
Alternatively, you can cut them a bit shorter and install them below the angle. In any case, the goal is for the window to close without leaving a gap.
- Screw the four braces from the inside to the outside frame. This will provide stability and secure the whole structure in place.
Step 6: Trim the Front
Now is the time to do some refining. If there’s a bit of excess wood from the two angled side panels overlapping the front, use a Dozuki handsaw or some sandpaper to gently trim it away.
Step 7: Fix the Lid to the Frame
Use a couple of strong hinges to attach the lid to the frame. You can also add handles if you want.
What is a Cold Frame Greenhouse?
Looking at its design, a cold frame greenhouse is simply a five-sided box with the top being see-through. Its basic job is to cover your garden to protect its plants from the elements.
The roof is transparent to let the sunshine in. The trapped heat from the sun and the moisture from the earth maintain the environment inside the box at a temperature 5 to 10 degrees Fahrenheit warmer than the temperature outside.
There’s a flip-top door to grant the gardener access so he or she can tend to the plants.
What is a Cold Frame Greenhouse Used for?
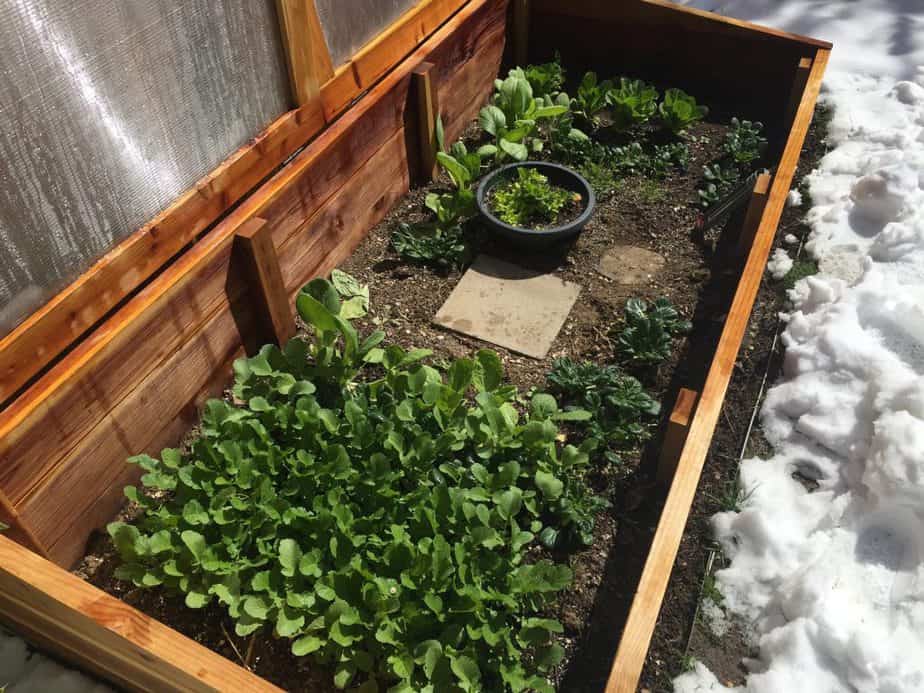
For centuries, the simplest versions of these units have been used to shelter tender perennials, start cold-tolerant plants in the early spring, harden off seedlings before transplanting, and overwinter plants and cuttings. Let’s take a closer look at the most common uses of cold frame greenhouses nowadays:
- Extend the season for cool-season crops – cold frames can provide a warmer and more controlled environment for plants than outdoor temperatures, so gardeners use these structures to start plants without worrying about frost or frozen ground.
This is because the plants inside won’t be exposed or affected by the unseasonable cold or hot weather that often occurs during spring and fall. Cold frames are an excellent solution for extending the season for cool-season plants since they can withstand the lower night temperatures.
- Overwinter dormant plants – while it’s true that tender plants can’t continue growing through winter inside a cold frame greenhouse, these units can do a great job protecting them during dormancy.
When overwintering plants, you want to limit sunlight and maintain adequate soil moisture. This way, the plants won’t start to grow but they won’t completely dry out either.
- Harden off delicate plants and seedlings – if you’re trying to transition your plants from an indoor to an outdoor environment, cold frame greenhouses can help make the possess smoother. Whether you started the pants in your home or a greenhouse, they must gradually adapt to the change in temperature, sunlight, moisture, and exposure outdoors.
Inside a cold frame, your plants will be exposed to these changes in a controlled manner while being adequately protected. Once the plants settle into the climate change in your cold frame, you can then move them to your outdoor garden.
Where Should You Build Yours?
The best positioning for your cold frame is to be oriented towards the south or southwest. Make sure you pick a spot near the house so you can easily water the plants and monitor the temperature inside.
What Temperatures Should It Reach?
Spring and fall plants thrive at around 60 degrees Fahrenheit, while summer plants yield best at about 75 degrees Fahrenheit.
Investing in a couple of simple outdoor thermometers (or, consider the millennial route here) can help you better monitor the growing conditions. Place one inside and one outside of the DIY cold frame greenhouse.
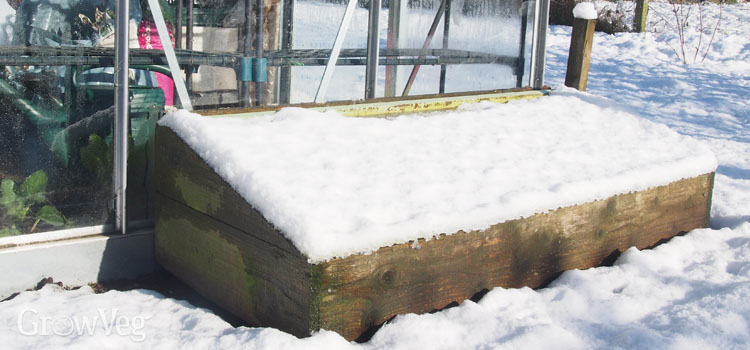
Since plants will wither if they get too hot, you’ll have to start making adjustments around early spring. Once the outdoor temperature exceeds 40 degrees Fahrenheit, prop the lid open about 6 inches.
When the temperature becomes consistent at 50 degrees Fahrenheit, you can remove the lid completely during the sunny hours and put it back for the chilly spring nights. As for when the temperatures consistently go above 60 degrees Fahrenheit, disassemble the structure entirely and store it until fall.
When Can You Start the Growing Season Now?
Starting the growing season will depend on the types of plants you’re planning to add to your DIY cold frame greenhouse and their condition preferences.
Cold frame greenhouses will generally keep the garden at a temperature 5 to 10 degrees Fahrenheit warmer than the outdoor temperature. If your plants are hardy enough to grow in a 40-degree environment, you can start while there’s still frost out.
Wrap Up
There you have it, a simple step by step guide to help you make a reliable and cost-efficient DIY cold frame greenhouse right at home using basic carpentry materials and tools.
Once you start using your cold frame, it’s important to keep tabs on the temperatures to present the best possible growing conditions for your plants.