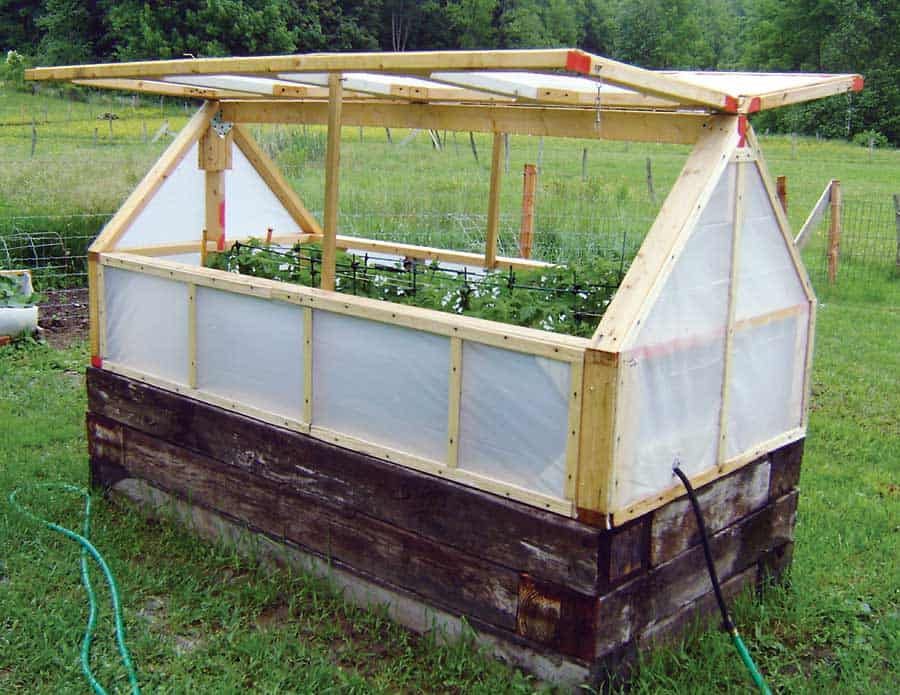
A mini greenhouse is an excellent solution if you want to protect a small plant in your garden from UV or optimize its flowering season. If you’re looking for a way to build a mini greenhouse DIY style, then you’ve come to the right place!
In today’s article, we’ll walk you through a complete step by step guide of three different methods of mini greenhouse construction. So without further ado, let’s dive in!
How to Make Build a Mini Greenhouse with Iron Wire
This method is extremely easy and works flawlessly for small garden plants that require special care.
Keep in mind that this kind is only ideal for temperature optimation and UV protection, but doesn’t offer much against the wind.
Tools & Materials Needed for the Method
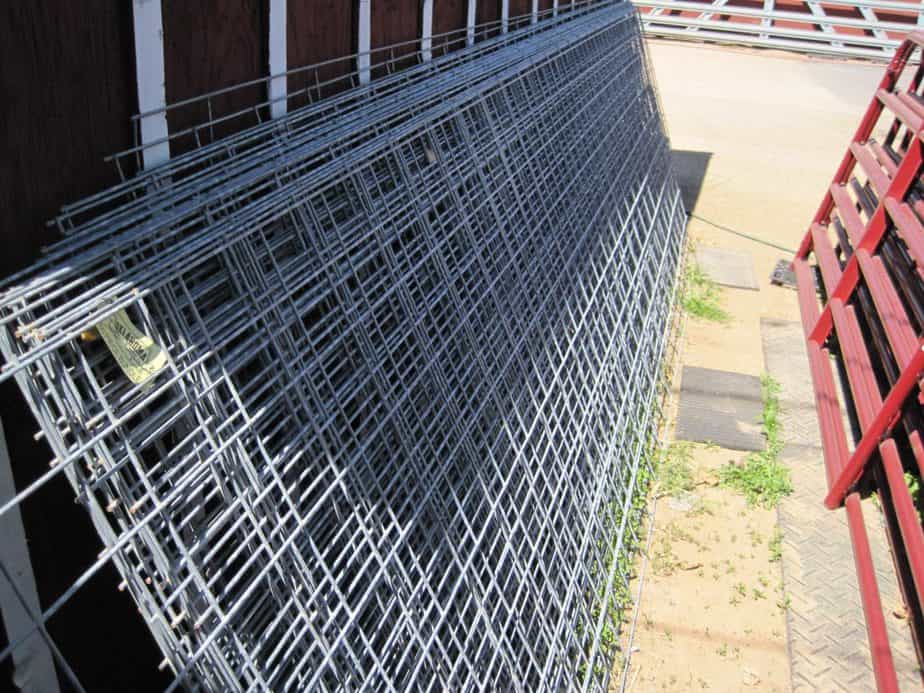
- A spool of iron wire 1/8 inch (3 mm) thick
- A spool of soldering lead wire
- Rubber or plastic hose: should be at least 1/3 inch (8.4 mm) thick on the inside.
- Transparent corrugated sheets: ideally, they need to be made of polycarbonate, but PVC and other plastics might also work. The sheets should be about 6 x 3 ft (182.8 to 91.4 cm) to allow you to cut them to the ideal sizes.
- A hand or a wire saw
- Measuring tape
- Scissors or a utility knife
- Soldering gun
- Superglue
Step by Step Instructions
1. Cut and Shape the Wire
Using your saw of choice, cut the iron wire to form the frame that holds the greenhouse plastic sheet in place.
Ideally, you need to bend the wire in an inverted “U” shape. Repeat the process for as many sheets as you want but keep in mind the size of plastic sheets you have. Make sure that all the U shaped bows are similar to each other to form a consistent tunnel.
2. Cut the Hose to Make Holders
The cylindrical shape of a hose is ideal for holding the structure together. Simply cut the hose using scissors into small pieces (about 3 to 5 inches).
After that, use a utility knife or scissors to cut them open by making a single longitudinal incision in each piece, then set aside.
3. Set up the Mini Greenhouse Frame
With everything ready, simply align all the bows in front of each other at a decent distance, then lay multiple perpendicular iron wire strands over the bows to hold them together.
Use the soldering gun along with the lead wire to secure them in place. The result should look like a cage-style tunnel.
Optional tip: to make it easier to carry, bend one or two iron wires into small loops and solder them into the bows of the frame, making carrying handles.
4. Wrap the Frame with the Sheets
Depending on the size of the plant you want to keep in a greenhouse and the size of the wire bows you’ve made in the first step, cut the plastic sheet so that it can comfortably wrap over the wireframe tunnel you’ve made with the bows.
Cut the excess sheet with scissors or utility knife, then secure the sheets in place using superglue.
A 6 x 3 sheet is very large, so try to be economic with the sheets, which allow you to have enough extra to make more greenhouses for all your plants. Measure the two sides of the tunnel and cut two suitable pieces to make ventilation windows.
5. Secure the Bottom of the Structure with Hoses
With everything in place, simply attach the opened pieces of hose to the bottom of the plastic sheet and the ends of the wires. This will also keep the structure sturdy and prevent it from collapsing.
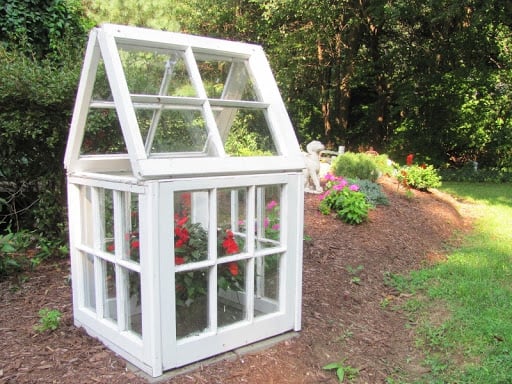
How to Build a Mini Greenhouse with a Fish Tank
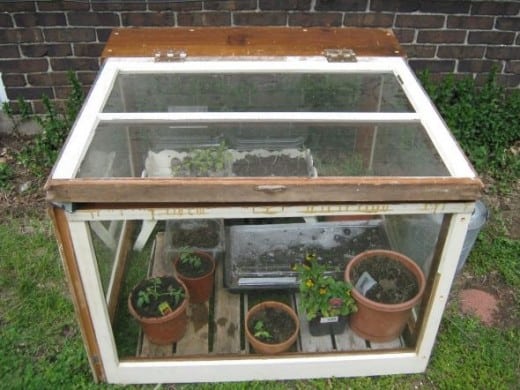
What’s great about this method is that it uses old items you might find in your basement and turn them into a useful item that really works!
The fishtank method is excellent for temperature control and wind resistance. However, it’s a hit or miss when it comes to the size of your plant. Another con about fish tanks is that they’re only ideal for plants that don’t require a lot of aeration.
Tools & Materials Needed for the Method
Step by Step Instructions
1. Sterilize the Fish Tank
Prepare a hydrogen peroxide solution by mixing one cup of hydrogen peroxide with one gallon of water.
After that, pour the solution in the tank and leave it for 30 minutes, then pour the solution out, and let the tank dry in the sun
2. Transfer the Soil
If the plant is small enough, you can turn the tank into a terrarium-like greenhouse by transferring the soil into the fish tank.
In that case, cover the top of the aquarium with a plastic sheet, and make sure that you cut it to form a window for ventilation.
Alternatively, you can flip the fish tank upside down and use it to cover the plant while it remains in the soil.
In that case, make sure you poke holes in the fish tank for aeration as necessary, here’s a helpful guide for that.
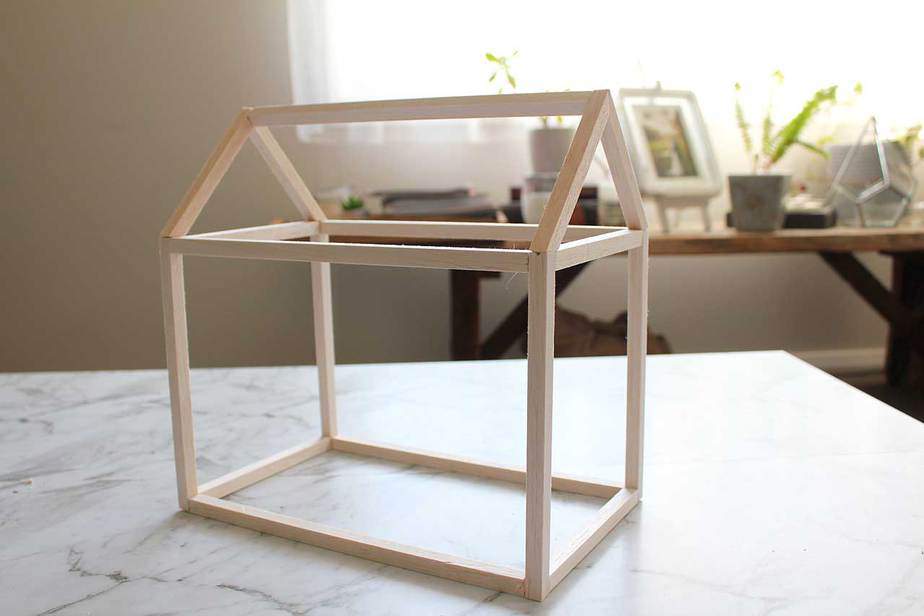
How to Build Mini Greenhouse with PVC Pipes
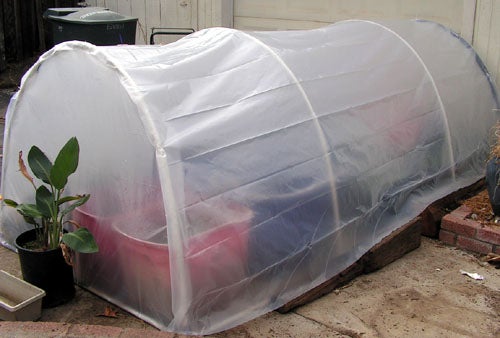
PVC pipes are the bread and butter for DIYers everywhere because they’re highly affordable, easy to work with, and offer an outstanding level of ruggedness without needing soldering guns. Here’s what you need to do:
Tools & Materials Needed for the Method
- Measuring tape
- Polycarbonate sheet
- Handsaw
- PVC pipes (multiple colors available): about 3/4 to 1-inch pipes would be enough, the thinner the better.
- PVC T pipes: must fit the size of PVC pipes you’ve bought.
- PVC elbow joints: must fit the size of PVC pipes you’ve bought.
The number of PVC pipes and joints here is totally up to the size of your plant as well as how high and large do you want the greenhouse to be. This also applies to the size of the plastic sheet used for covering.
Step by Step Instructions
1. Build a Base for the Greenhouse
To build a base, you’ll need to connect the regular pipes together using joints at each of the 4 corners. Measure the area you need to cover and build a suitable base accordingly.
Make sure that you attach T-shaped pipes every 2 to 3 inches interval or as you see fit.
The smaller your base, the more stable it’s going to be as you build up the roof. That’s why it would be much better to build multiple small bases than one big greenhouse.
2. Connect the T Pipes to Build Walls
Depending on the length of the plant adjust the length of the pipes, then attach them to the T-shaped pipes, forming walls.
3. Build a Roof with the Pipes (Optional)
By the end of the previous step, the result should be a base with multiple poles hanging from it. Although building a roof isn’t a must, it’ll always be advisable for both aesthetics and heat distribution inside the greenhouse.
Use a combination of pipes and joints to create roof support. This Gif should give you an idea about the suitable shape.
4. Place the Structure over the Plant
Place the structure over the plant to test it out and make sure that it fits the plant as desired. This should be a good point to make final adjustments before covering the frame with plastic sheets.
5. Cover the Frame with Plastic Sheets to Form a Mini Greenhouse
Once you’re completely satisfied with the design of the greenhouse, cover the structure with a suitable piece of polycarbonate sheet, then cut the excess.
How Much Does A Small Greenhouse Cost?
A small greenhouse would cost you anywhere between $50 to $300 depending on whether it’s for indoor or outdoor gardening, the size of the kit, the type of insulation, and other features included.
On the other hand, building your own DIY mini greenhouse would save you a lot of money and allow you to build the greenhouse exactly how you need it.
Is Building a Mini Greenhouse Better Than Buying One?
The answer to this question relies mainly on a number of factors. The most important one of these factors is, of course, the size of your garden.
If you have some small pots of plants that you want to keep insulated in a more suitable environment, you can easily build them with this guide.
However, if you’re in a hurry or you don’t want to go through the hassle of making one, this Topline Mini Greenhouse might do the trick though it isn’t a traditional greenhouse per-say.
On the other hand, building your own mini greenhouse will always pay off because you’ll create it exactly as you need it. If you’re thinking about a larger scale build, then give this guide a read.
Wrap Up
With that said, you now know how to build a mini greenhouse for your plants in a variety of methods.
As you can see, making a mini greenhouse for your plants is fairly simple, saves you extra cash, and won’t take too much of your time.
You can choose any of the different methods above based on your personal preference, ease of application, or the size of your garden!