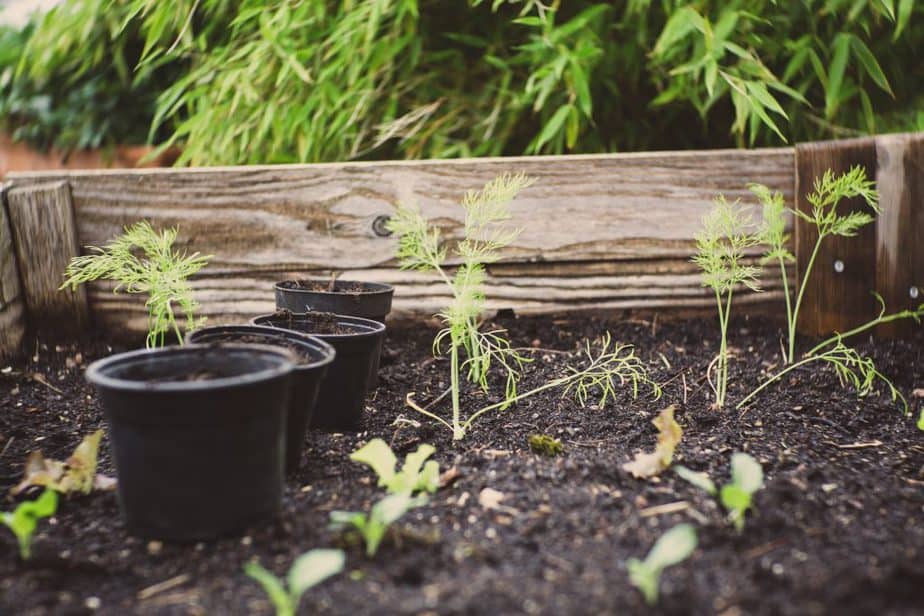
Growing veggies in your backyard mean you’ll be at the mercy of rainy days and frigid blizzards, but not for long, though!
In this article, I’ll show you how to make a DIY raised bed greenhouse cover to extend the growing season throughout the year. Let’s get going!
Step by Step DIY Raised Bed Greenhouse Cover
So, a raised bed greenhouse cover is undoubtedly a handy structure in the right circumstances, but do your’s point in this direction? Maybe a DIY full size or mini greenhouse is more in tune with your needs and capabilities.
Step 1: Assemble the Base
Get four pieces of 2×4 lumber, preferably 8 feet long and pressure treated. You can find those boards at any home improvement store.
Then, measure your raised bed and cut the board to match the length and width.
Now line up the boards over the raised bed to make sure you sized them correctly. If everything fits, drill pocket holes into the sides, and screw everything with 3.5” deck screws. Make sure the screws are corrosion-resistant to save yourself the hassle of repetitive repairs.
Afterward, screw a 2×2 board across the center of the frame to prevent the moisture-induced warpage from collapsing your greenhouse cover.
Step 2: Get the Pipes
Now that the base is ready, we can lay out the foundations of the roof. We’ll use PVC pipes to make half circles that run widthwise. Determining their size and number is a bit tricky, so buckle up and get ready to remember some high school math!
Determining the Number of the Pipes
To decide how many pipes you should buy, divide the garden bed’s length by 25, then round the number and add one. If you’re wondering why we’re dividing by 25, it’s because we’ll screw the pipes 25” apart from each other.
For example, let’s say your bed is 80” long, then:
- 80/25≈3
- 3+1=4
So you’ll need four pipes for the main structure of the hoop house. You should also buy three extra pipes to provide lengthwise support.
And again, you can purchase the PVC pipes at the closest home development store.
Determining the Length of the Pipes
As I said, we’ll assemble the pipes as half circles that span along the width of the garden bed.
To calculate the length, divide the bed’s width by two, and multiply it by 3.14 (the value of Pi [π]).
For example, if your garden bed is 40” wide, then:
- 40/2=20
- 20×3.14≈63
So you’ll need to cut each pipe to measure 63 inches. You might need to subtract 2 or 3 inches to make it easier to bend the pipes, so let’s make it 60 inches.
Step 3: Attach the Main Pipes
Now get two PVC table caps for each pipe, and screw them to the top surface of the wood frame, spacing them 25” apart.
Needless to say, the caps and the pipes should have the same diameter in order to fit together. You can find almost all the available sizes on Amazon or your local home development center.
Now pick up the first pipe and insert it into the front or the back side. Then, fit three cross-fittings over the pipe, and finish by bending the pipe to insert it into the cap on the other side. Repeat for all the pipes.
Remember, the cross-fittings should be slightly wider than your pipes to fit comfortably.
Step 4: Attach the Support Pipes
By now, your hoop house should seem ready to be covered with the plastic sheet. However, you should attach three pipes lengthwise to provide extra support, especially if it snows or rains a lot where you live.
To start, space the cross-fittings evenly across the main pipes, and screw them from the top surface. You can also hold them in place with super glue.
Then, measure the distance between each pipe, and cut the supports accordingly. Lastly, fit them into the cross-fittings to complete the hoop house frame.
Step 5: Attach the Plastic
Get a large sheet of 8mil plastic, and make sure it’s at least three times wider than your garden bed in order to fit comfortably on top. It’d be great if a friend can help you attach it because it’ll be too challenging to do it by yourself.
Start by draping the sheet loosely over the pipes, and don’t worry if it extends beyond the garden bed.
To hook the sheet to the pipes, pull the sheet taut and insert 3 or 4 snap clamps on the first and last pipe; ignore the middle ones. These clamps will make the sheet stiffer, which should be extremely important if it often snows where you live.
With the sheet draping over the wood frame, get four 1×1 wood nailing boards, and screw them over each side. Ask your friend to pull the sheet taut as you’re drilling to get the best result possible.
Finish by cutting the excess plastic on all sides.
Step 6: Add the Finishing Touches
You can screw the hinges on any side you want. Personally, I prefer having them on one of the long sides so that the hoop house cover doesn’t stand too high when I open it.
Whichever side you pick, it’s better to screw more than one hinge to distribute the torque evenly.
Next, screw two handles on the side across from the hinges to easily lift up the cover without having to touch the plastic.
Lastly, install one eyelet screw on the right side of the wood frame and another on the garden bed, then repeat on the left side. You should install them about 1 inch away from the front face (where you installed the handle).
Now lift up the greenhouse cover until it makes a 90-degree angle with the garden bed. Have your friend hold it in that position while you thread ropes into the eyelet screws that you installed earlier.
And that’s it! You should now have a greenhouse cover that stays open when you lift it up!
Final Thoughts
If you want to get the most out of your greenhouse cover, you should place an Exhale CO2 bag inside. This bag contains a large number of fungal mycelia, which produce a constant supply of CO2.
As you probably know, CO2 is key for effective photosynthesis. Increasing its concentration inside your mini greenhouse will allow your plants to grow bigger, faster, better, and stronger.