Tired of hand-watering all those fabulous plants in your luscious greenhouse?
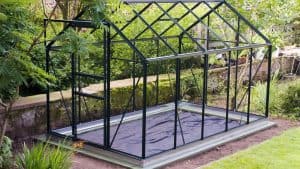
If you’ve graduated from just a few crops to a veritable Eden—and you have no complaints about building things with your hands—it might be time to build a greenhouse drip irrigation system.
Watering systems save your time and energy, and can help conserve water.
You can certainly buy a pre-built, ready-to-install kit, but building a DIY irrigation system for your greenhouse is surprisingly simple and affordable.
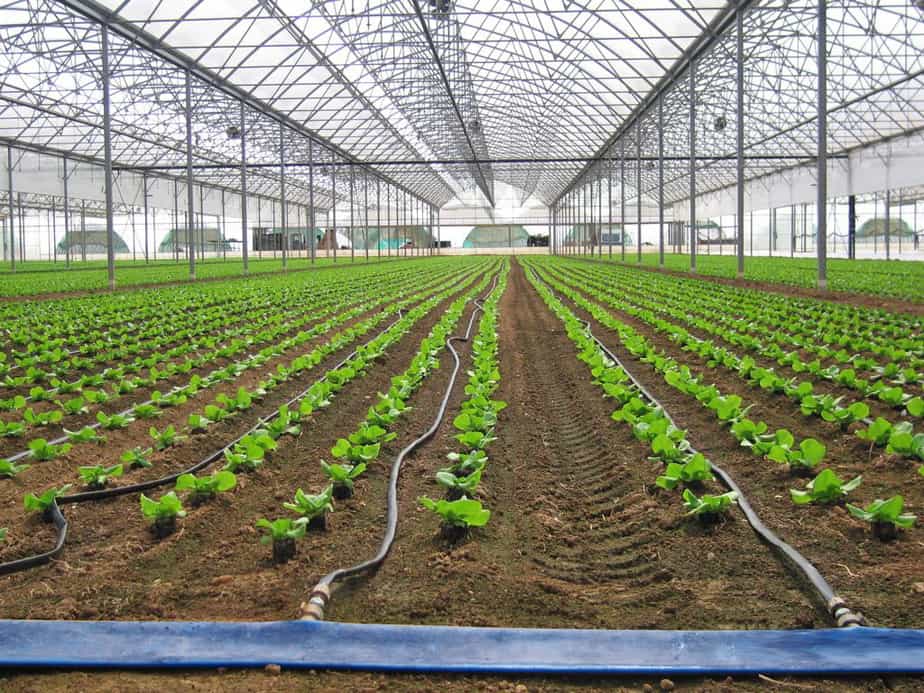
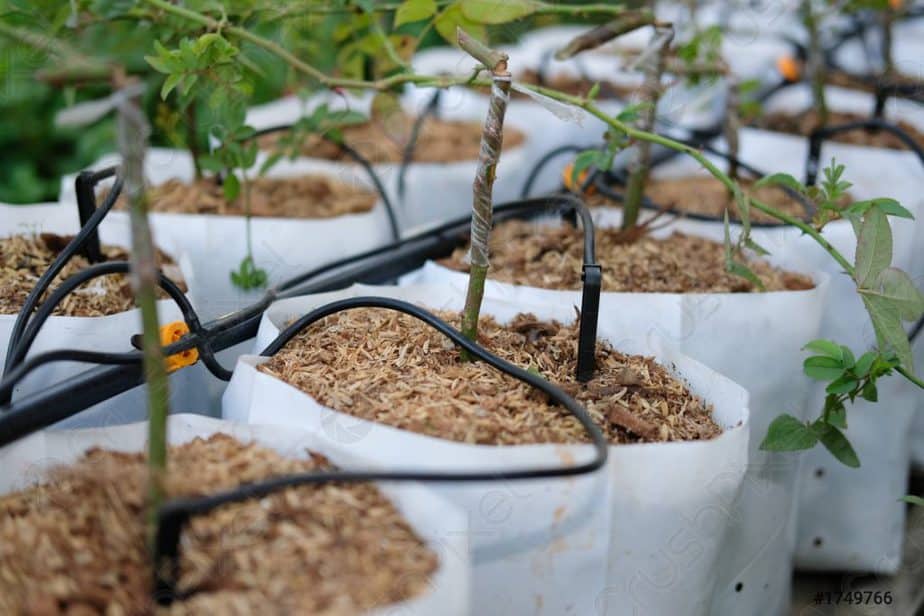
The most convenient and effective greenhouse auto-watering system is a simple drip irrigation hose. Think simple: a flexible hose with small, intermittent holes that can deliver water to all your plants with the turn of a spigot handle!
Misting, Drip, or Sprinkler?
You may have heard about the wonders of greenhouse misting. While a misting system will certainly maintain humidity and certainly help plants keep moisture, you need to turn the water way up to fully soak soil, and everything else in the greenhouse will likely get soaked, too.
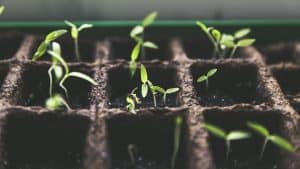
An exception to this rule is keeping seedling and seed starts moist. For that, misting systems are perfect. Explore the ins and out of misting systems in our Quick Guide to Greenhouse Misting Systems.
If you’re sold on a misting system for your greenhouse, we’ve written a guide to help you Build Your Own DIY Greenhouse Misting System.
Another option for automating your home greenhouse watering is an overhead sprinkler system. In my opinion, this is overkill. It’s a bit of a “killing a spider with a bazooka” situation unless you have a massive greenhouse with a huge spread of plants (and you don’t mind getting water all over the floor of your greenhouse).
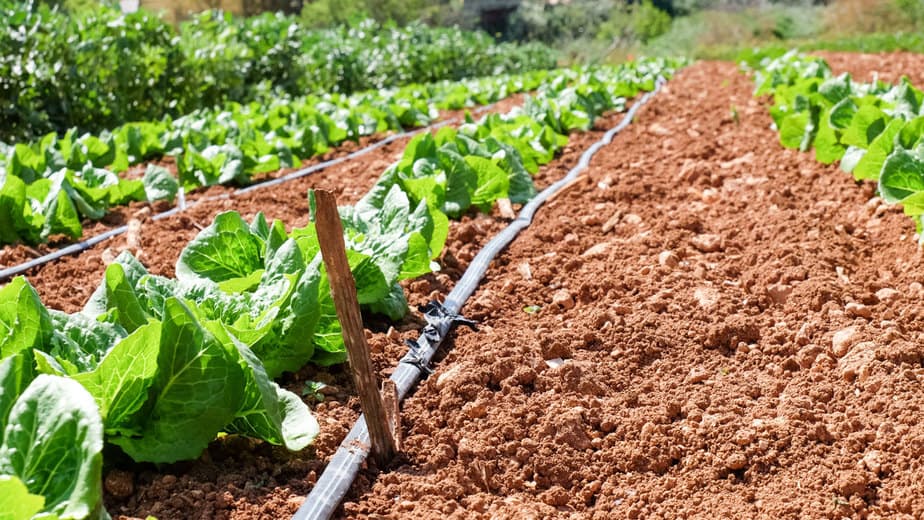
A simple drip irrigation system on the other hand, delivers water precisely onto plants’ soil and requires minimal labor and maintenance. So, let’s build a greenhouse drip irrigation system together, shall we?
Before You Build A Greenhouse Drip Irrigation System
Check Sizing and Threading
Make sure you’re buying pieces that will fit together! Check both diameter and threading size of:
- Your water spigot
- Tubing-to-spigot adaptor
- Tubing end cap
Measure Tubing
Be generous when measuring how long you need your water supply tubing to be. It’s always better to have more than not enough. Measure the distance between the spigot and your plants, then all along your greenhouse where plants live.
Plant Placement
You’ll be manually placing the tubing around your greenhouse to hang over or sit directly on plant containers. Before you install the tubing, it’s a good idea to take stock of your plant arrangement and shelving.
Do your plants live in a bunch of different sized and shaped containers?
Are your shelves all different heights, or very far apart?
Consider rearranging your greenhouse so that it will be easy (or at least easier) to snake the tubing across your greenhouse such that it can lay across all your plants.
Keep in mind, also, that you’ll likely want to secure the tubing (perhaps onto shelving) at intervals that help it stay in place.
Build Your Greenhouse Drip Irrigation System
Components
You’ll need:
- Plastic tubing: ½-inch or ¼-inch is recommended.
- Tubing adaptor: Connects water tubing to spigot.
- Wire mesh hose filter: To filter out debris before it enters the hose.
- Heavy-duty zip ties: At least 6 inches long.
- Tubing end cap: Stops-up the “free” end of the tubing.
- A tube-cutting tool: Make sure it’s large enough to cut your chosen tubing.
- Hole-punch tool
Step 1: Connect Water Source
First, place your mesh filter onto the spigot. Then screw your tubing adapter onto the spigot.
Now work the plastic tubing onto the un-threaded end of your tubing adapter. If you have a spigot adapter with a “barbed” end (meaning it has some ridges on it to help create a tight seal) A barbed adapter is highly recommended.
Push the tube onto the adapter until it’s snug. Tug it back and forth a bit to ensure that you’ve created a good seal.
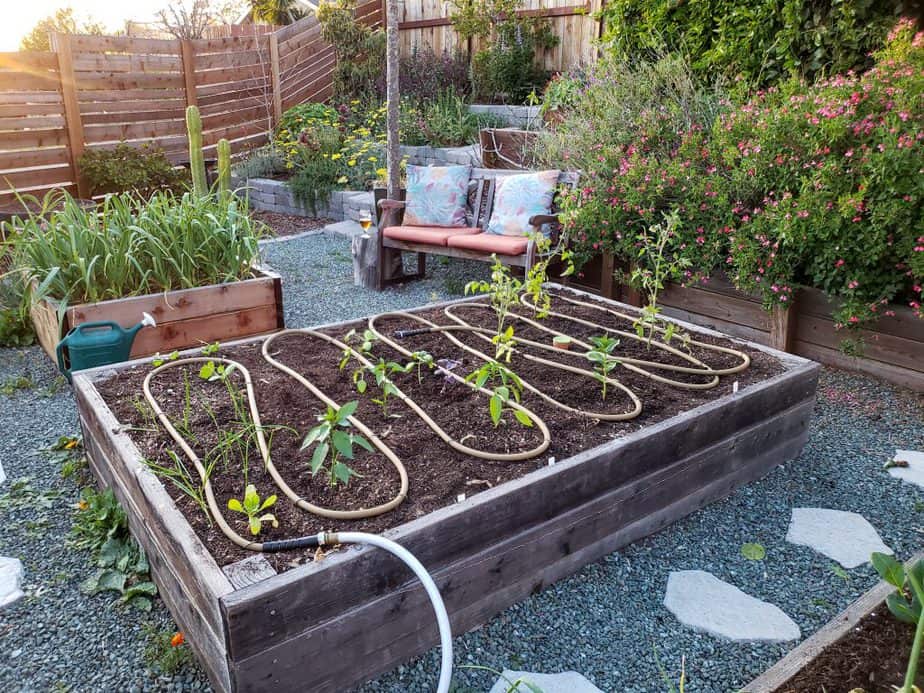
Step 2: Install Tubing
Starting at the spigot, run the tubing from the spigot to your plants. Use zip ties to secure the tubing as you go—to shelving, greenhouse frames, or anything else that is conveniently located.
This is perhaps the most potentially difficult and frustrating part of the DIY drip irrigation experience. While the tubing should be flexible enough to meander through your plant containers, it can get a bit unwieldy. If you have a lot of plants in various sized containers, on varied-height shelving, this can be extra-challenging.
Have patience and use those zip ties to help direct the tubing. You may find that you need to install extra shelving or move plants around in order to place the tubing properly.
Step 3: Install End Cap
Close the system. Press the tubing end cap into the opening at the end of the water supply tubing.
Step 4: Hole-poking Time!
Poke a hole in the tubing wherever it overlaps with a plant’s soil.
Step 5: Turn On Water
You did it! Turn the water on slowly to avoid flooding the hose and your plants. Experiment with water pressure to find that perfect flow.
Optional Additions
- Timer: A programmable timer is a majorly helpful and incredibly simple upgrade to your watering system.
- Hose splitter for multiple water lines.
Drip Nozzles
“Wait a minute…I just poke holes into the tubing and let it drip?!”
Yep. It can truly be as simple as that. But if you want to get more precise with watering, you can up-level to a system with drip nozzles.
Check out our guide to building your own misting system; building a drip irrigation system with fitted drip heads will be almost identical to that process.